|
SmartCoinBox has two types of timers for Models CD and CW as follows:
3 Button Timer (2012 to 2015)
Set-up Procedures:
To make sure that the DEFAULT values are intact and did not make any adjustments by mistake, do the following steps:
Press S3 and HOLD
Display must be 00:01
If not use S1 or S2 to bring it back to 00:01
Wait for few seconds until the display goes back to 00:00
To adjust to desired "minutes",
Press and HOLD S1 to desired minutes
If you exceed your desired "minutes", press S2 to adjust back
Wait for few seconds until the display goes back to 00:00
4 Button Timer (2015 to present)
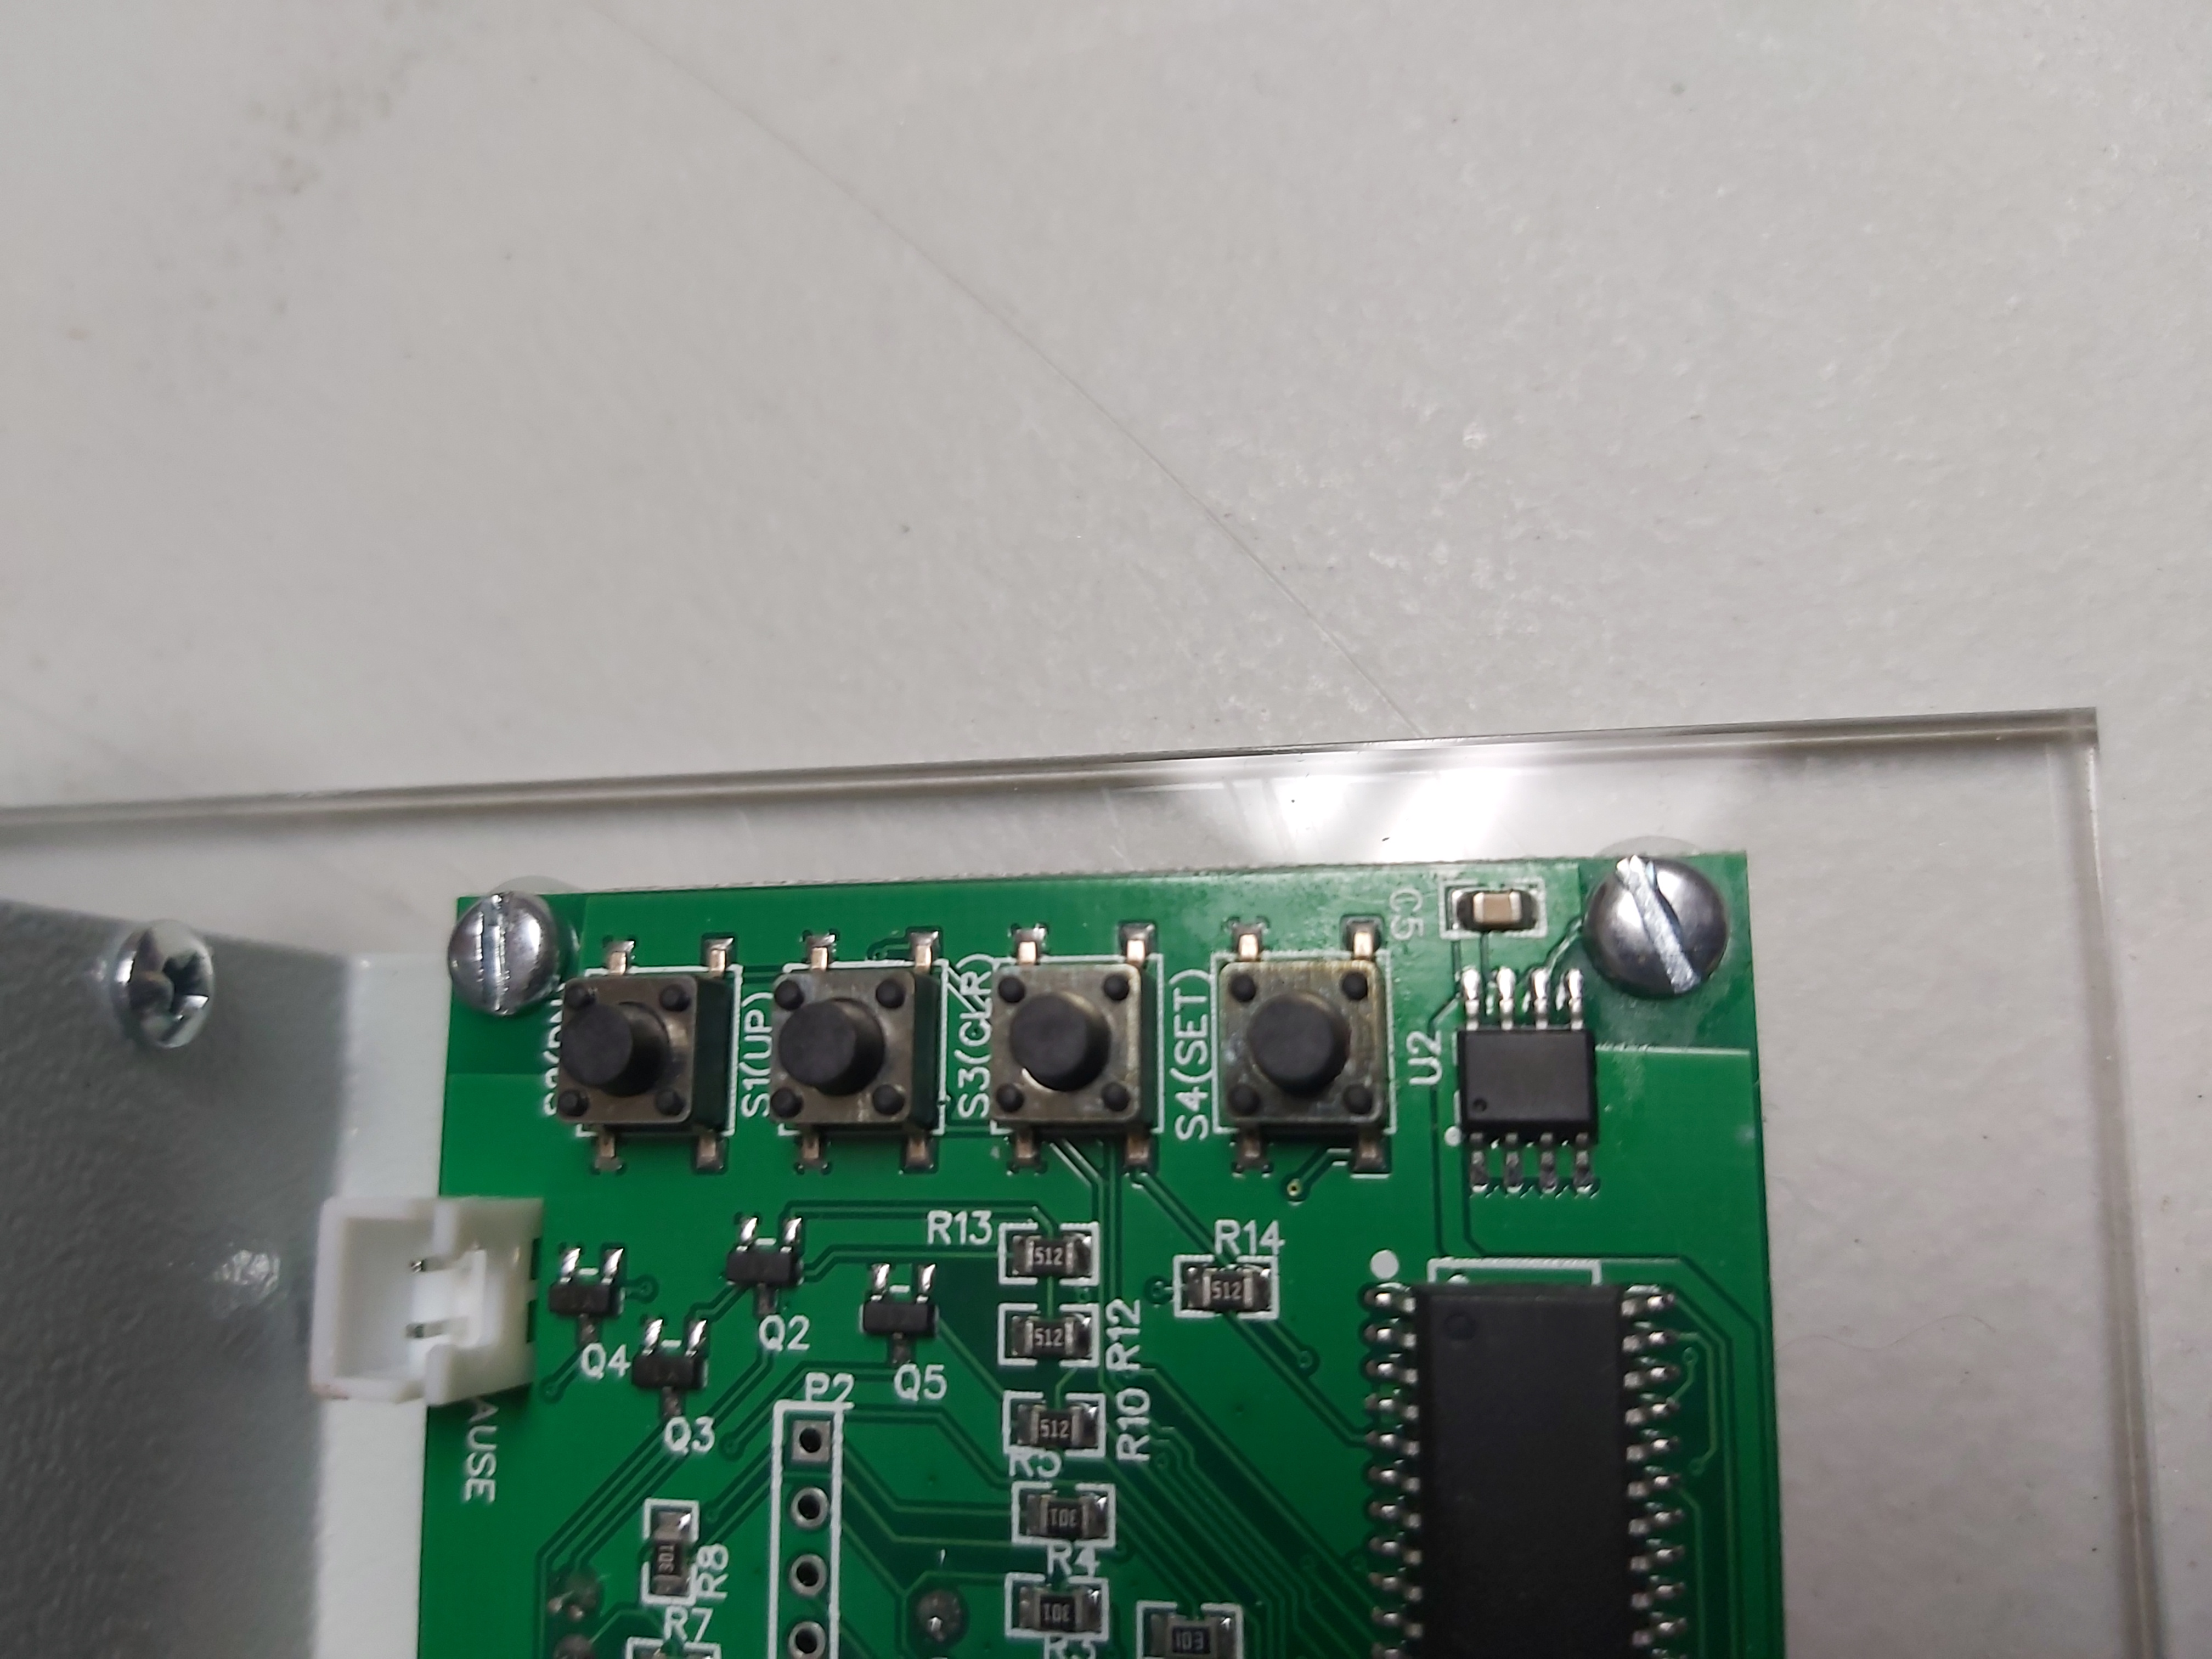
Set-up Procedures:
Press S3 to clear
Press S4 two times (not once)
Press S1 or S2 to adjust to desired minutes
Wait for few seconds for the display to go back to 00:00
Following the procedures above carefully will make minutes adjustment easy and hassle free.
Important: There are default values embedded on the timers memory function that must not be adjusted. If you accidentally adjusted them and cannot get it working again, please contact us for assistance.
TIMER SET-UP OPTIONS:
We currently have 2 options on how you want your tenants pay the usage of your laundry equipment:
OPTION 1 we called "BUY YOUR TIME" set-up or "BYT"
BUY YOUR TIME or BYT is the most popular set-up in all SmartCoinBoxes. Every time the tenants insert a coin the time accumulates. BYT is the default set-up on all our SmartCoinBoxes sold since 2012
... wait!....before you start...a 5 seconds of inactivity on the buttons...will bring back the display to 00:00..you then need start on step 1 again....
1. Press S3 to clear.
2. Press S4 and display must be "01" (01 means ONE coin) if not use S1 or S2 to bring it back to "01"
3. Press S4 again. This is where you enter your desired minutes PER coin...say for example 20 minutes. So ONE coin inserted gives you 20 minutes...add another coin adds another 20 minutes and so on. TENANT must put enough coin to complete the cycle selected. A chart or table with corresponding cycles and run-time helps in determining how many minutes per coin you want to charge your tenants.
4. Wait for few seconds and wait for display 00:00
5. Done! Test your setting.
OPTION 2 we called "PAY ME FIRST" set-up or "PMF"
PAY ME FIRST or PMF is less popular but works better with other landlords. This set-up is also popular on LAUNDROMATS that we cater and build. The concept is requiring your tenant to insert predetermined amount of coin before the timer starts.
For example, Landlord A wants 3 coins inserted first before the timer starts. Assuming Landlord A set the timer already for 40 minutes per coin.
..wait.. before you start...a 5 seconds of inactivity on the buttons...will bring back the display to 00:00..you then need to start on step 1 again..
1. Press S3 to clear
2. Press S4 and set display "03" ( 3 means three coins). If the display is not 03, use S1 or S2 to bring it back to 03.
3. Press S4 again and here you will enter your minutes per 3 coin cycle. Using S1 or S2 bring the display to 40 (meaning 40 minutes). You can select any minutes you want to give your tenants for 3 coins.
4. Wait for the display to go back to 00:00.
5. Done! Test your setting...
IMPORTANT: Your tenant MUST add 3 coins again to ADD 40 minutes...
-------------------------------------------------------------
CONVERTING YOUR COUNTDOWN TIMER DISPLAY FROM MINUTES:SECONDS to HOURS:MINUTES
Our timer default is 00:00 or MINUTES:SECONDS with maximum
display time of 99:99. If you think this is not enough you can shift
to HOURS:MINUTES mode by doing as follows:
1. Press hold at the same time S1 and S2 to enter engineering mode (Display 01:01 - Do not touch)
2. Press S4 (Display is 02:03 change this to 02:04 by using S1 or S2
3. Press S3 to save and exit.
You can now set the time desired in HOURS:MINUTES same method when you are setting in minutes:seconds.
Take note that 1 minute = 60 seconds and you will not see any
changes on the LED's until after 1 minute
|
|
|